Sarson ka saag is a traditional Punjabi dish and is often made during the winter season in India.
It doesn’t require too many ingredients, but you must have sarson leaves to prepare this recipe at home. Without these leaves, the dish won’t taste the same, and there aren’t many alternatives to it as well.
In this guide, let’s learn more about the sarson ka saag leaves and their uses.
What Are Sarson Ka Saag Leaves?
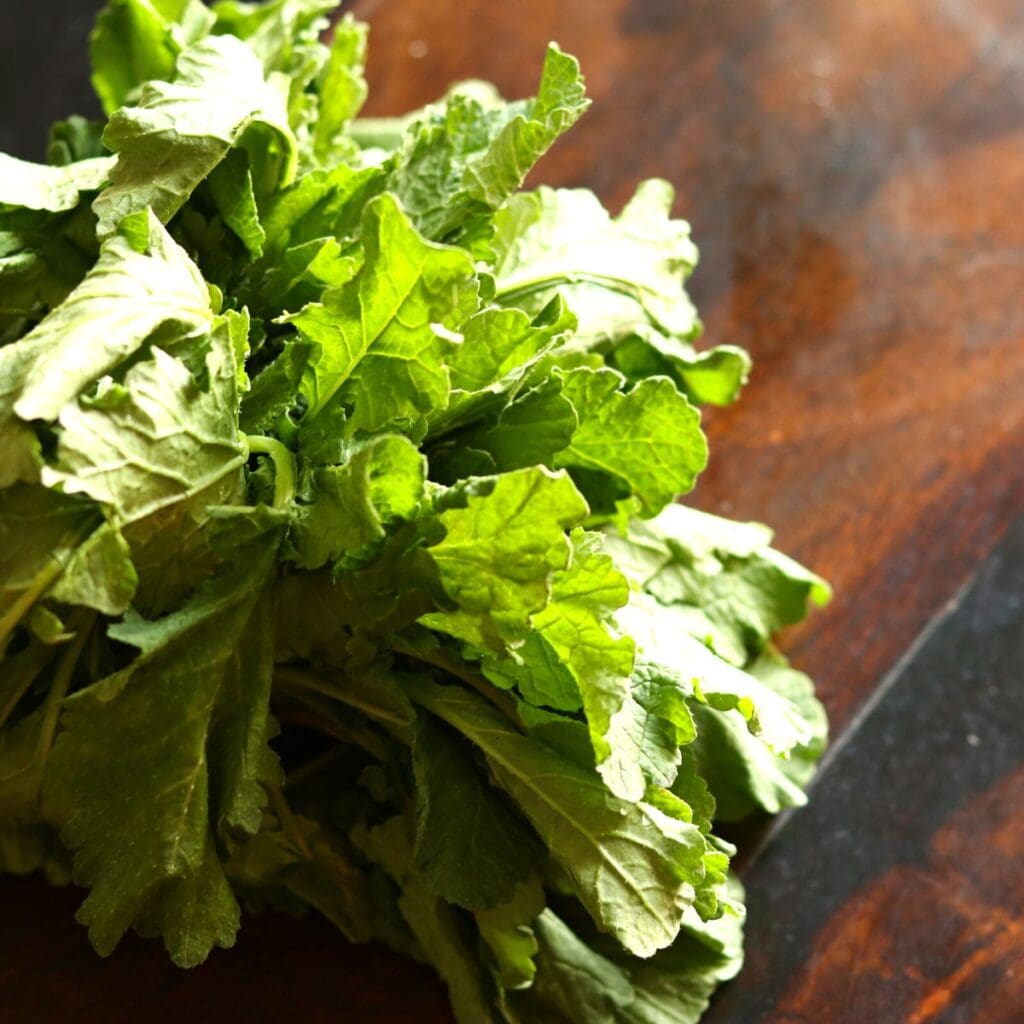
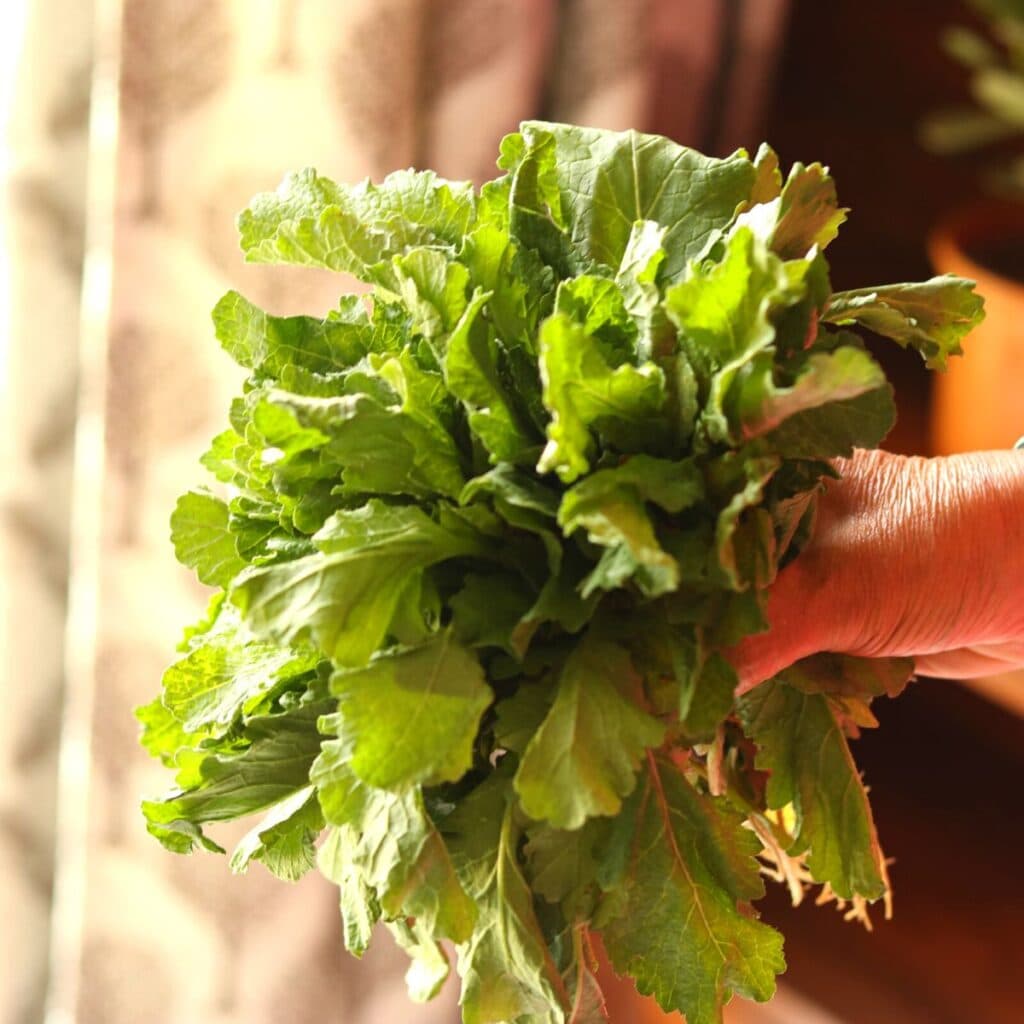
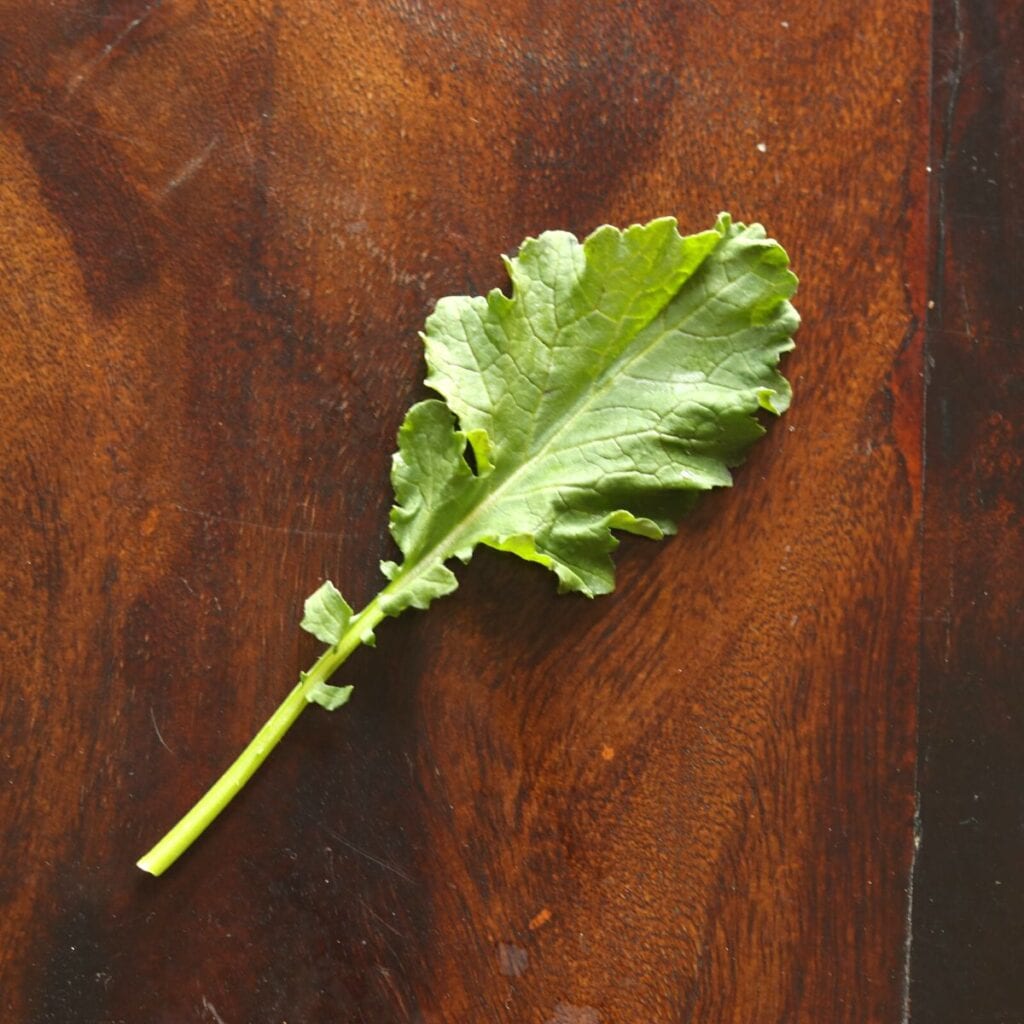
Sarson ka saag leaves are known as mustard leaves.
When winter arrives in the northern region of India, this dish becomes a regular serving for lunch and dinner. It is prepared with basic ingredients and served with makke di roti (corn flour-based flatbread).
This dish tastes great when prepared with freshly harvested mustard leaves. Hence, it becomes imperative to pick the right leaves for the recipe. If you use older leaves, they will taste different and won’t have the quintessential ‘saag’ taste.
How To Use Sarson Ka Saag Leaves
Although it’s not difficult to make this dish, you must follow the correct steps to get the perfect taste and color.
Here are the steps you need to follow –
1. Sorting
In this step, you will have to sort the leaves from the store-bought bunch.
Traditionally, sarson ka saag is made with tender leaves only, i.e., the top three leaves. The remaining leaves are discarded, as they don’t offer much taste to the dish. However, you can still use them in your recipe if you want.
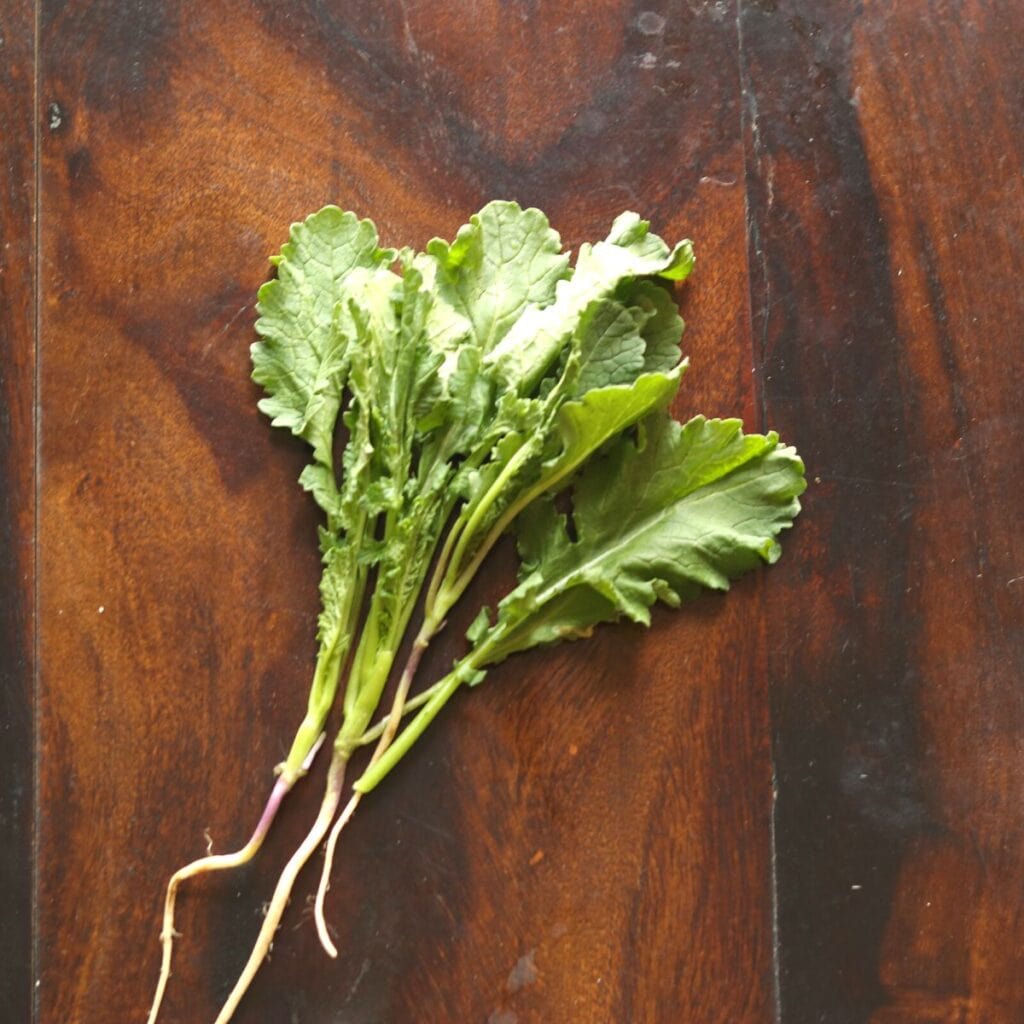
Apart from sarson leaves, you will also need to get bathua leaves, methi leaves, and spinach leaves for this recipe. The quantity of these leaves should be less than sarson leaves.
Spinach leaves are optional, but they do add volume to the dish. So, use them accordingly.
2. Cleaning
Since most of these greens directly come from farms, you need to rinse them properly.
Simply put them in a bowl of water and rinse them well 2-3 times with clean water. It will eliminate the dirt attached to the leaf surface and stems.
Note: Many people chop the leaves before cleaning them in the water. It’s not a suitable technique for cleaning. Rinse them before chopping, as you will be able to extract dirt and fine particles from them.
Also, don’t use soapy water or any other leaf cleaner for cleaning the vegetables. Use tap water to perform this task.
3. Chopping
Once the leaves are sorted and cleaned, chop them as finely as possible.
Fine chopping is necessary for this recipe. It takes longer to disintegrate in the pan if you cut them roughly.
If you’re going to use a mixer, it’s perfectly fine to cut them roughly. Later, you can turn them into a fine or coarse paste.
4. Blanching
Blanching is a modern technique and is generally not included in the traditional way of cooking sarson ka saag.
It is mostly done in restaurants, as they need to present the dish in a certain manner. For them, the green color of the dish is more important for the presentation.
If you like the greenish color of this dish, blanch the leaves for a few minutes and remove them in ice water. Once they have cooled down, cook them in the pan.
5. Cooking
As I mentioned earlier, there are two ways to use chopped leaves. You can either blanch them or cook them directly for cooking.
I prefer the second method, as it brings a beautiful texture and color to the dish. Besides, all the nutrients stay in the same pan. When you blanch them separately, the essential nutrients leach out in the water, and all you get is the remaining green extract.
However, it’s up to you to use any of the above methods. Both methods give you a perfect dish in the end.
You can also cook the leaves in a pressure cooker. Cook them for one or two whistles. Don’t forget to add a little water at the base of the cooker. The pressure cooker will help expedite the cooking process.
Important: The color of the dish depends on how long you cook the sarson leaves. The longer you cook them, the darker the shade will be.
If you prefer a more green color to this dish, use blanched leaves. Also, don’t cover the pot with a lid while preparing the dish. Both these tips are essential in retaining the bright green color for your delicacy.
6. Tempering
Tempering or tadka is another significant step in preparing sarson da saag at home. It helps elevate the flavors of your dish.
For tempering, use asafoetida, chopped garlic, and whole red chili. You may add red chili powder in the end, but make sure it doesn’t burn.
Use ghee for making tadka. It tones down the sharp taste of mustard leaves and green chilies. If you use oil in place of ghee, it will not be very effective and will only make the dish greasy.
Tip: Use a good amount of garlic pieces for the tadka. It gives a nice taste to the greens.
Now that you know the entire process to use these leaves for making sarson ka saag, take a look at the following recipe video.
Can You Store Sarson Leaves?
Yes, these leaves can be stored in the refrigerator or freezer.
Most restaurants prefer the same method to store their mustard leaves for a long. This way, the chefs can use the leaves during non-availability or off-season periods.
You can store the leaves as purée or whole leaves. Keep them in the freezer if you wish to use them after a week or two.
Besides, you can also cook the purée and store it in the freezer. Later, you just have to add the tempering and serve with roti, pickle, and raw onions.
Note: Sarson ka saag tastes amazing when you make it using fresh leaves. The frozen leaves will not have the same flavor as the fresh ones. They may also turn slightly bitter as time goes by. So, it’s best to make this dish with tender leaves.
Why Does Sarson Ka Saag Turn Bitter?
Sarson ka saag turns bitter because of the incorrect selection of leaves and overcooking. Both these factors play a crucial role in deciding the final taste of the dish. Moreover, the dish can also turn bitter during the grinding process.
Let’s look at some of these reasons in detail.
1. Leaf Selection
Mustard leaves have a slightly bitter taste, so you need to pick the tender leaves only. If you use old leaves and large stems, it may lend a bitter taste to the preparation.
Similarly, you must check the proportion of methi leaves. Fenugreek also has an inherent bitter taste, which adds to the overall taste of your dish.
2. Overcooking
Whether it’s mustard leaves or any other leafy vegetable, they tend to turn bitter due to overcooking.
If you have already blanched the leaves, do not cook them again for too long. The excess cooking process will spoil the taste.
3. Grinding
Apart from the above two prominent reasons, grinding is another reason for the bitter taste in your saag recipe.
When you grind the leaves for a long interval, the mixer generates additional heat. Due to this, the leaves might get an off taste.
Tips To Fix Bitter Taste In Sarson Ka Saag
Although you can’t get rid of the bitter taste entirely, you can make some additions to the dish to offset the taste.
Here’s how you can fix the taste –
- Ghee – Ghee or clarified butter will make the dish rich and help balance the taste to a certain extent. Similarly, you can use white butter for this purpose.
- Jaggery or Sugar – Both these ingredients can help add a contrasting taste to the dish. However, don’t add it in large quantities. Also, you should prefer jaggery over sugar, as it has a more earthy taste.
- Lemon Juice – Fresh lemon juice can also aid in lowering the bitterness of this dish. But again, don’t use it in large quantities.
As you can see, these ingredients can help fix the taste in your bitter sarson ka saag, but they are not very effective.
Therefore, you must be very selective in picking the right leaves and following the proper cooking process for this dish.
Note: Add shallow-fried paneer pieces if the saag is not too bitter. It will help balance the taste and make it palatable.
FAQs
Sarson leaves are known as mustard leaves in English.
The dish has become popular due to exposure to regional cuisines in recent times. Furthermore, many celebrity chefs belong to the north Indian communities, which has helped bring lesser-known dishes to the limelight.
It is also a different delicacy than the typical red gravy dishes.
No, they are different in taste, texture, and appearance. However, you can use them in the preparation of saag dishes.
Sarso is nothing but mustard leaves, whereas palak is called spinach.
Leave a Reply