As you know, Thalipeeth is one of the best breakfast dishes in India.
It is a traditional Maharashtrian flatbread, which is made using different spices and grains.
You can check out the detailed recipe here – Thalipeeth Recipe
But today, I want to go a step ahead and show you how to make Thalipeeth Bhajani flour at home.
Yes, it’s possible to make this flour mix in your home kitchen.
(And it tastes better than the packaged Bhajani flour!)
So, let’s begin with the following guide.
What Is Thalipeeth Bhajani?
To make this flour, you will need to understand the true meaning of Bhajani.
The word ‘Bhajani’ comes from Maharashtra’s Marathi language.
And it literally means roasting (technique) or roasted (grains/flour).
In our context, though, it roughly translates to the flour mix of roasted grains and spices.
Got the point?
Great!
Now, I hope you know why it’s called Thalipeeth Bhajani.
Benefits of Dry-Roasting:
- Helps remove moisture from the grains
- Enhances the flavors of the grains
- Enhances the aroma of spices
- Improves the shelf life of roasted grains and spices
How To Make Thalipeeth Bhajani Flour
Before I reveal the process, there’s something you need to know about Thalipeeth and its multigrain flour mix.
Important:
Thalipeeth is a multigrain flatbread, and its preparation style changes from one place to another.
So, you might notice a difference in the combination of flours/grains used in various recipes.
And therefore, the taste, color, and flavors might vary with each recipe.
Similarly, you can add or remove any grain from this mixture as per your liking.
However, do include at least 4-5 grains to make it more tasty and flavorful.
Now, here’s the step by step process for you to follow –
Ingredients
Although it’s a multigrain flour mix, you will need to add a couple of spices to it.
These spices do the real magic for the bland Thalipeeth mixture.
1. Coriander Seeds (Dhaniya Seeds) – 50 gms
These seeds help you get a distinct flavor to your Thalipeeth.
So, use them generously.
2. Cumin Seeds (Jeera) – 10 gms
These seeds help you get the slightly warm and spicy flavor to this flatbread flour mixture.
Since Cumin Seeds can alter the taste, use them sparingly.
And that’s all you need as far as spices are concerned.
Note: If you don’t have these spices at home, you may get them from a nearby grocery store. You can also buy powdered spices if the whole spices are not available.
And if you can get hold of whole spices, follow the same technique of dry-roasting to get more flavors and aroma out of these spices.
Later, you can grind them with the flour mix.
3. Rice (Chawal) – 250 gms
Rice (flour) brings the desired crispiness to the Thalipeeth.
And therefore, it’s important to have these grains in your Bhajani mix.
4. Wheat (Gehu) – 250 gms
Wheat grains are also an essential ingredient in the Bhajani flour mix.
So, you must include it while preparing the mixture.
5. Sorghum (Jowar) and Pearl Millet (Bajra) – 250 gms each
Both these grains are also important ingredients in this mix.
However, if you don’t want to add both grains, you may skip one of them.
It won’t make much difference to the taste.
6. Split Bengal Gram (Chana Dal) – 100 gms
This one is for the taste.
If you’ve noticed earlier, Thalipeeth always tastes more rustic and heavier (texture) as compared to Chapatis or Parathas.
Well, this much-needed characteristic comes from the use of Split Bengal Gram, also known as Chana Dal.
If you ever had Methi Theplas, you will experience a similar base texture in them.
And that’s because of Chana Dal mixture or Besan!
So, don’t forget to include this Dal in the Bhajani mix.
7. Moong (Whole) and Split Black Gram (Urad Dal) – 100 gms each
These two Dals are pretty much optional ingredients.
And you can skip them completely if you want.
I like to add them to my Bhajani flour mix because both these Dals get that extra bit of taste to the Thalipeeth recipe.
Similarly, you can also include Moth Beans (Matki), Masoor Dal, etc., in this mixture.
It will only enhance the taste of the outcome.
The only thing you need to consider is the texture of your Thalipeeth here.
If you like soft and delicate texture, do not include too many grains.
On the other hand, if you like the Bhakri-like texture, you may think of adding more grains to the mix.
The choice is up to you.
Tip: If you want to save some time, you can use the readymade flours and mix them accordingly.
Of course, you won’t get the same taste and flavors to your Thalipeeth, but the difference won’t be noticeable.
Alright, now, let’s take a look at the steps to make the Thalipeeth Bhajani mixture.
Steps To Follow
The procedure to prepare Bhajani is divided into two parts, i.e., Roasting and Grinding.
Roasting
It is the first step of the process, as you will need to roast all the above ingredients in a Pan or Kadhai.
Traditionally, the locals use Iron Kadhai to roast the grains and spices, but you may use any non-stick pan or Kadhai.
Steps To Follow –
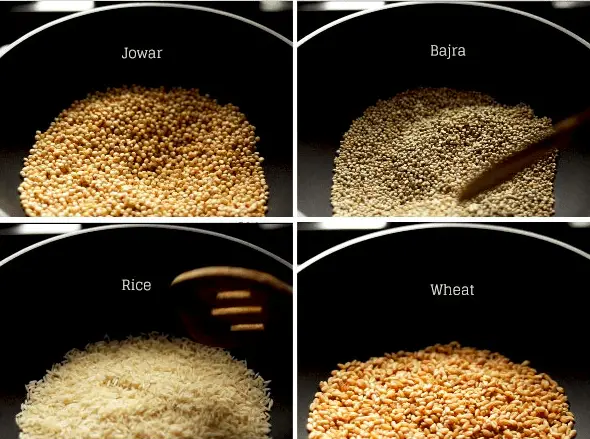
Step 1: Heat a Pan or Kadhai on medium flame.
Step 2: Once it turns hot enough, add Jowar seeds to it. Roast them for 10-12 minutes.
Follow the same process for Bajra, Rice, and Wheat.
Note 1: You don’t have to brown these grains completely. Roast them lightly.
Note 2: Some grains require less time to roast, so make sure to keep stirring them in between.
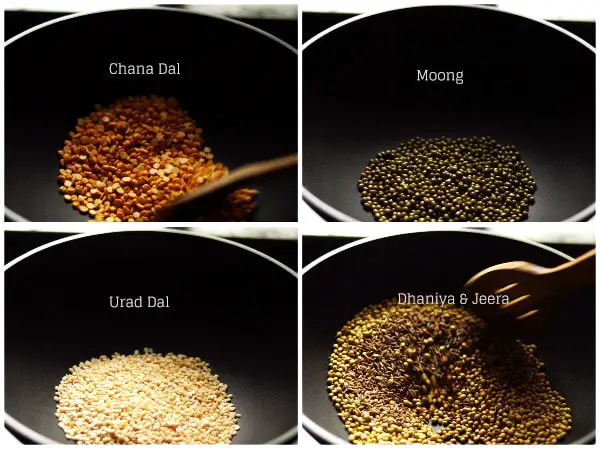
Step 3: Now, roast the Chana Dal, Moong, Urad Dal, Dhaniya and Jeera.
Step 4: When you are done with the roasting process, mix all the roasted ingredients on a plate and let them cool down for at least 20-30 minutes.
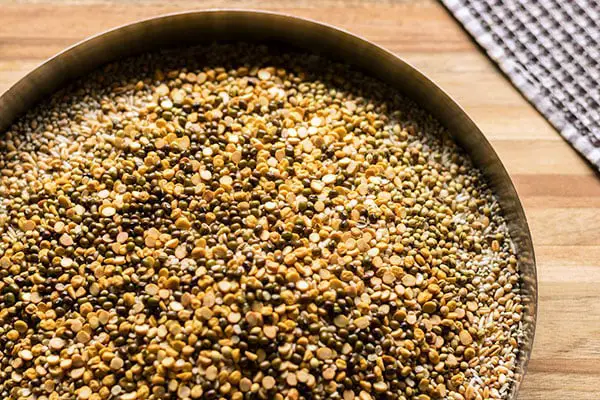
It’s an important step, and you shouldn’t hurry to grind these ingredients.
Grinding
The next thing you need to do is grinding!
Once the mixture cools down, you can get it ground from the flour mill.
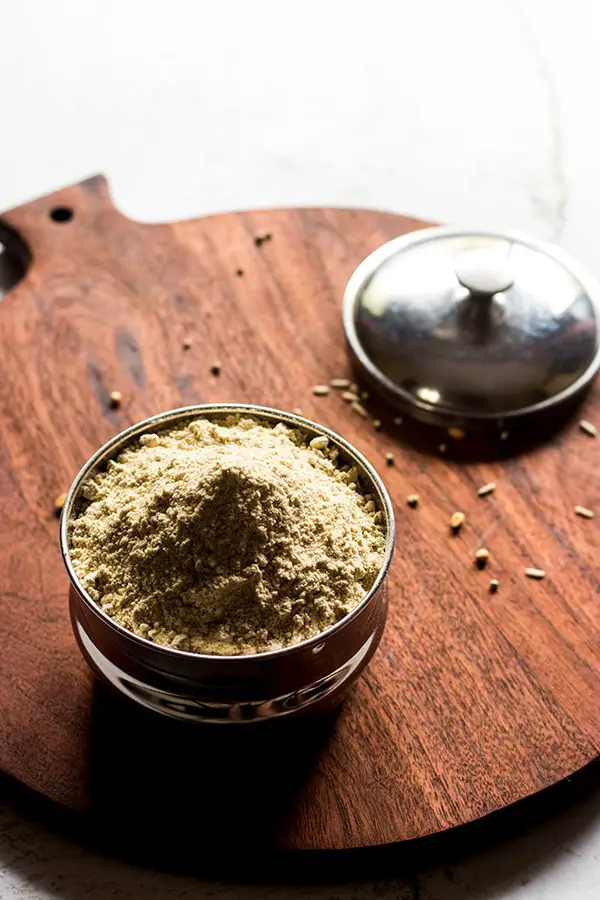
Here’s how the flour looks:
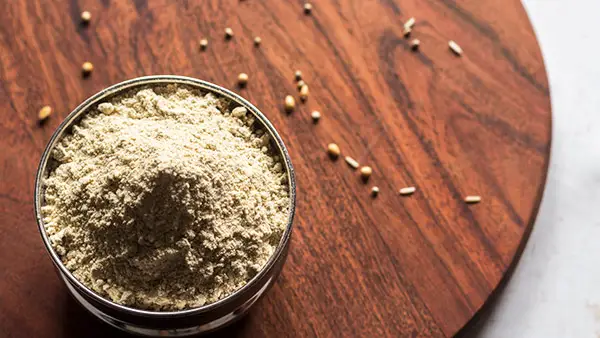
And that’s pretty much it about the preparation of Thalipeeth Bhajani.
As you can see, it’s not a difficult process at all.
All you need to do is roast the spices and grains for a few minutes and then grind them into a fine flour mix.
The whole procedure probably takes 30 minutes or so.
But it’s worth the effort.
I’m sure you will love the taste of these homemade multigrain Thalipeeths.
Tip: You can also use this Bhajani mixture to make Maharashtrian Vade.
So, do try it out!
Meanwhile, check out the following FAQs section.
In this section, I have tried to answer some of the common questions related to Bhajani making process.
I hope you find it useful.
FAQs
Do I Need To Use The Same Combination Of Grains To Make Thalipeeth Bhajani?
There is no particular rule to make Thalipeeth Bhajani at home.
You can change the ingredients as per your taste.
How To Store Bhajani Flour?
You can store it in an airtight container of your choice.
However, make sure the container remains closed properly.
If the flour comes in contact with moisture or bugs, you will have to throw it away.
So, keep the container closed with a tight lid.
How Long Does This Bhajani Flour Last?
Like any other flour, it can last for at least a couple of months.
But I’d suggest you make it in small batches only.
The freshly made flour gives a great aroma, taste, and texture to Thalipeeths.
Well, I think I should conclude this guide here now.
Do let me know if you make this Bhajani recipe at home.
And if you have any more questions, leave a comment below, and I’ll try to answer them as soon as possible.
Can I grind on a mixer at home since I don’t have a flour mill close by?
Hey Malini,
Yes, you can grind it in a mixer, but the machine will turn hot too soon.
Also, if you want to use a mixer, you should consider sieving the flour after the grinding process. The sieving method will help in getting a fine consistency to your Thalipeeth flour.
Thanks Harshad, simple language and interesting content. Now a days I am trying new variety of food. I am from New Delhi interesting in this Maharashtrian food.
Thank you for the feedback Priyanka!
You should definitely try out regional Maharashtrian food.
It’s quite different from what we get in various restaurants these days.
I’m sure you will enjoy this new food experience!