Did you know you can store bell peppers for the long term?
Yes, the peppers can be stored for later use.
But you need to use the right technique to keep them fresh and tasty.
So, in this guide, let’s learn more about this process in detail.
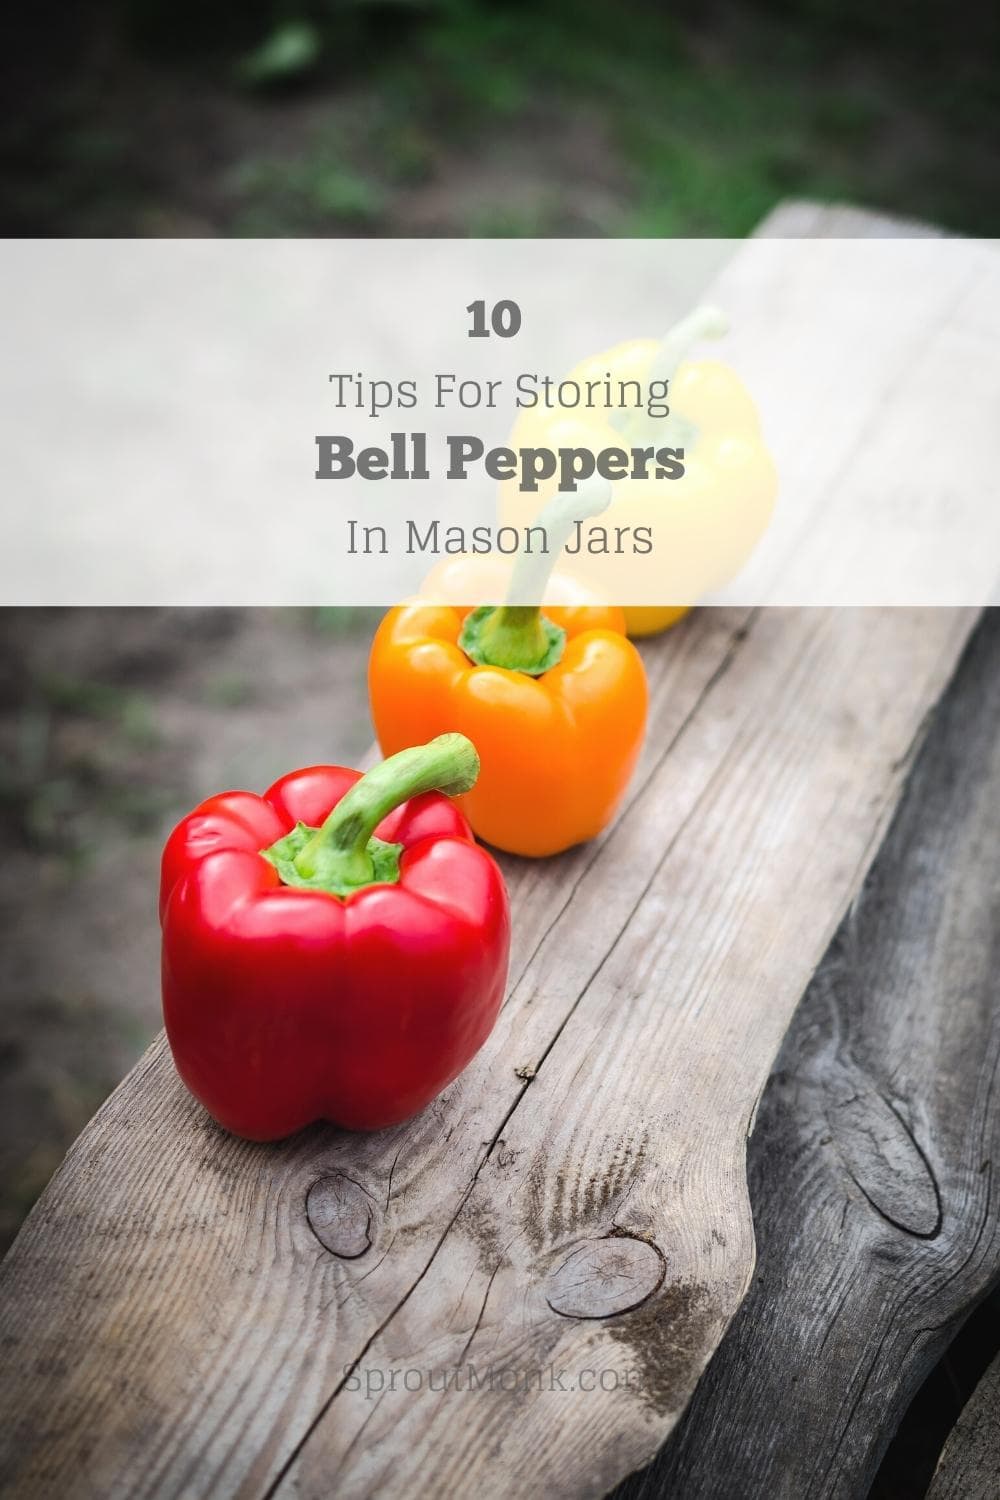
Tips For Storing Bell Peppers In Mason Jars
Here’s how you can store bell peppers in these jars for the long term –
1. Choose The Right Peppers
Whenever you want to store bell peppers, you should choose the right ones.
Now, what do I mean by choosing the right peppers?
Well, you should always go for the fresh and firm ones.
Avoid the ones that are soft or have bruises.
If you have grown them in your garden, you can easily segregate the good ones at the time of harvesting.
This way, you don’t have to waste your time later on.
2. Rinse Them Thoroughly
The next step is to rinse the peppers thoroughly under running water.
This is necessary because there might be some dirt or pesticides on them.
And you don’t want to consume those, do you?
So, rinse them off completely and then move on to the next step.
Oh, and there is no need to use any soap or detergent for this process.
Just plain water is enough.
3. Slice Them Into Pieces
Once you have rinsed the peppers, it’s time to slice them into pieces.
You can either slice them into thin strips or dice them into small cubes.
It’s completely up to you.
But you need to cut them so they can easily fit into the mason jars.
4. Clean The Mason Jar
The next step is to clean the mason jars properly.
You can use warm water and soap for this purpose.
This is important, especially if you previously stored something else in the jar.
Sometimes, there might be some residue left behind, which can affect the taste and quality of the peppers.
After cleaning the jar, you should dry them completely before moving on to the next step.
5. Place The Peppers In The Jar
Now, it’s time to place the peppers in the mason jar.
You can put all the peppers in one jar or divide them into multiple jars.
If you have colored peppers, you can store them separately.
This way, you won’t have to open all the jars simultaneously.
6. Put The Lid On
Once you have placed the peppers in the jar, it’s time to put the lid on.
Close the lid properly so that the air doesn’t get in.
7. Place The Jar In Your Refrigerator Or Freezer
Depending on the usage, you can place the jar in your refrigerator or freezer.
If you want to store them for a short period, the refrigerator is enough.
It will keep them fresh for up to a week or so.
And you can use them whenever you want.
But if you want to store them long-term, placing them in the freezer is a better option.
The freezer section allows you to extend the shelf life of the peppers to a few weeks.
8. Check The Jar Regularly
If you have stored the bell peppers in the refrigerator section, you should check the jar regularly.
It will help detect any mold growth on the peppers.
And if you see anything suspicious, throw them away immediately.
The ones that are stored in the freezer won’t go bad easily.
But still, do keep an eye on them as well.
You don’t want to keep something that has gone bad.
9. Use Them Within The Recommended Timeframe
Even though the peppers can last for a long time, you should use them within the recommended timeframe.
The reason is that they might lose their flavor and texture over time.
So, try to consume them within 2-3 weeks.
There is no point in keeping them for a longer period.
Remember, we have not used any pickling ingredients in this process, so the shelf life won’t be as long as pickled peppers.
10. Do Not Remove The Jar Too Frequently
If you really want to extend the shelf life of the peppers, you need to be careful about this one.
You should not remove the jar too frequently.
Doing so will allow air and moisture to enter the jar, which can lead to fungus growth.
So, try to open the jar only when you need to use them.
And if you are going to use them regularly, you should keep them in multiple jars.
Do not use a large jar and open it every other day.
So, that’s how you can store bell peppers in mason jars.
This is a basic method that you can use to store any type of pepper.
But there are other methods as well that can help you to extend the shelf life of the peppers.
Let’s learn more about them in the following section.
Alternative Methods To Store Bell Peppers
As I mentioned earlier, mason jars are not the only option for storing bell peppers.
There are other methods as well that you can use.
Let’s take a look at some of them –
1. Dehydrating
Another option is to dehydrate the bell peppers.
This is a bit more time-consuming than freezing, but it’s worth it because the peppers will last longer.
2. Blanching
This is another option that you can use to store the peppers.
Blanching is a process where you cook the peppers in boiling water for a few minutes.
The blanched peppers can be stored in the freezer for up to 6 months.
They may even last longer, but the quality will start to decline after six months.
3 . Canning
This is the ultimate option if you want to store the peppers for a long time.
The canning process will allow you to store them for up to a year or so.
But it’s more complicated than other methods.
These are the three key methods that you can use to store bell peppers.
You can choose any one of them based on your needs.
Or you can simply follow the one I’ve mentioned above.
What Vegetables Can You Store In Mason Jars?
You can store pretty much any type of vegetable in mason jars.
Some of the most common ones are –
These are just some of the vegetables that you can store in mason jars.
You can store any type of vegetable in them.
The process is quite simple and straightforward.
So, go ahead and try it out.
Note: Do not store any odor-producing vegetables like broccoli or cauliflower in mason jars.
And when you open the jar, the smell might also come out.
Also, it might linger in the jar even after you’ve washed it.
So, it’s best to avoid such vegetables.
FAQs
It depends on how long you want to store them.
The refrigerator is the best option if you want to store them for a relatively short period.
Yes, you can store sweet peppers in mason jars.
The process is quite similar to that of storing bell peppers.
It’s not necessary to store cut bell peppers in water.
You can simply store them in a mason jar or any other airtight container.
There are a few things you can do with an abundance of bell peppers.
You can either freeze them or can them.
Or you can dehydrate them and use them in different recipes later.
The best way to keep bell peppers from molding is to store them in an airtight container.
Mason jars are the perfect option for this.
You can even pickle them to extend their shelf life.
But to avoid molding, you will need to stop exposing them to air.
Over To You
Storing your excess bell peppers can be a great way to make them last longer.
It can also help you to save money in the long run.
So, don’t hesitate to give it a try.
And if you have any questions, feel free to comment below.
I’ll be more than happy to help you out.
Do share this guide with your friends and family if you like it.
Leave a Reply